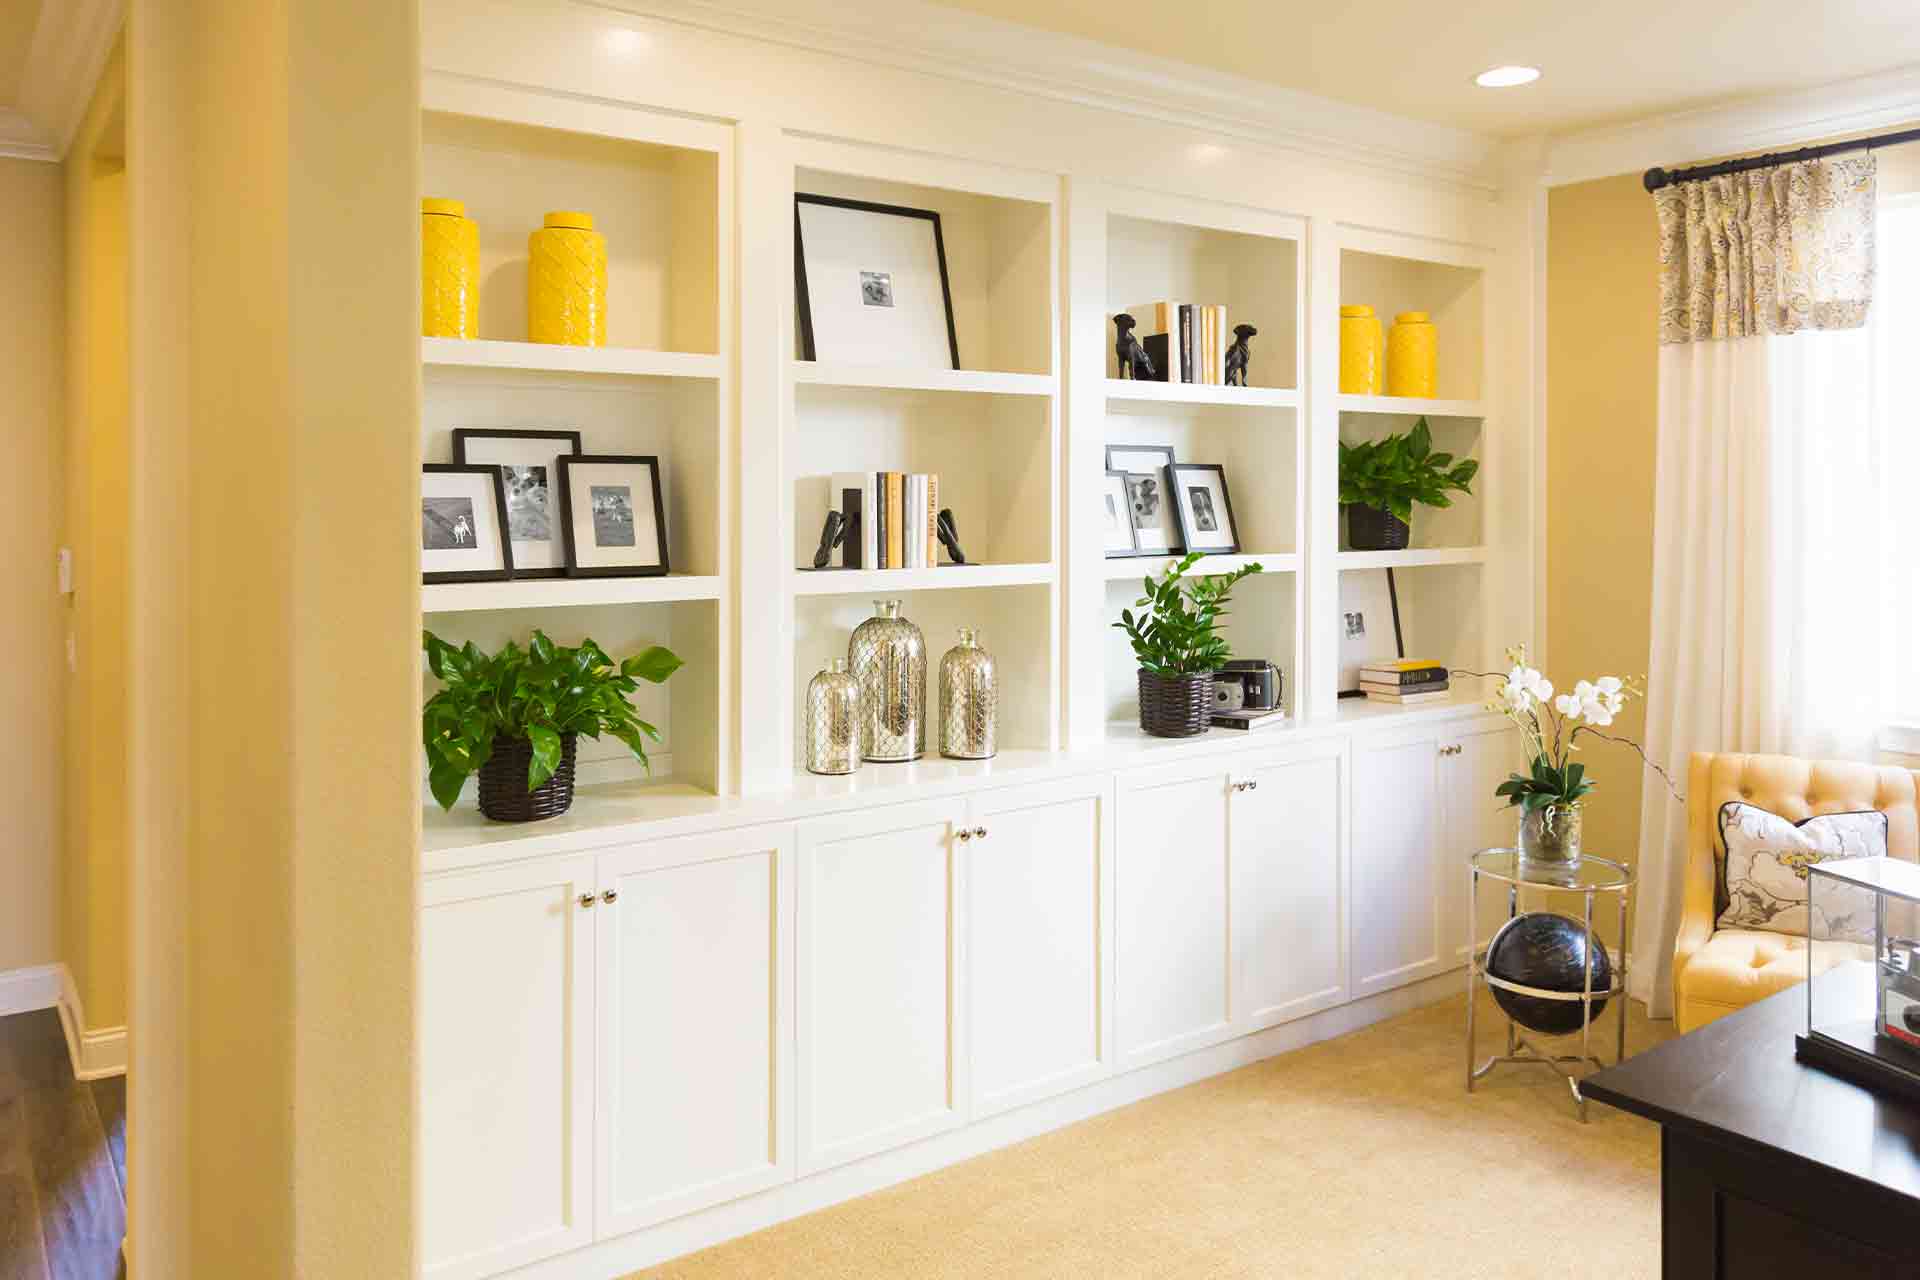
Shelves are an essential component of home decor, serving both functional and aesthetic purposes. They provide valuable storage space while also contributing to the overall design and organization of a room. In recent years, IKEA shelves have gained immense popularity, becoming a go-to option for many homeowners. However, with the growing interest in customization and unique interior designs, many people are seeking alternatives and exploring DIY options. This guide will delve into the world of custom shelves, covering different types, installation methods, and customization techniques to help you craft your ideal shelving solutions.
Types of Shelves
- Floating Shelves: These sleek and modern shelves appear to “float” on the wall without visible brackets or supports. They are versatile and can complement various decor styles. However, they typically have a limited weight capacity and require precise installation.
- Box Shelves: Box shelves are simple, cubical units that can be arranged in various configurations. They offer a contemporary look and can hold more substantial items compared to floating shelves. However, they may not provide the same visual appeal.
- Corner Shelves: Perfect for maximizing corner spaces, these shelves come in various styles, from traditional wooden corner shelves to modern glass designs. They help utilize otherwise unused areas but might be limited in terms of storage capacity.
IKEA shelves, while popular for their affordability and accessibility, may not always align with your unique style and functional needs. In the following sections, we will explore alternatives and DIY solutions to address these pain points.
Shelve vs Shelf
Before diving deeper into shelving options, let’s clarify a common linguistic dilemma: the difference between “shelve” and “shelf.” While these terms are often used interchangeably, “shelf” refers to a horizontal surface used for storage, like a bookshelf. On the other hand, “shelve” is a verb that means to place or arrange items on a shelf. For example, you shelve books on a bookshelf. Understanding this distinction can prevent language-related confusion.
Shower Shelf
In the realm of home organization, shower shelves play a pivotal role in keeping bathroom essentials tidy and accessible. The shower can quickly become cluttered, leading to frustration during your morning routine. There are several types of shower shelves to consider:
- Corner Shower Caddies: These fit snugly in the corner of your shower and are perfect for small bathrooms. They provide space for shampoo, conditioner, and soap.
- Hanging Shower Caddies: Suspended from the showerhead, these caddies keep your products within arm’s reach. However, they may sway if overloaded.
- Freestanding Shower Caddies: Designed to stand on the shower floor, these caddies offer stability and multiple shelves for organizing various items.
Choosing the right shower shelf can help you conquer the daily annoyance of a cluttered shower space. Consider factors like the size of your shower, the number of products you use, and your preferred style.
Floating Bookshelves

Buy Floating Bookshelves Now: Click Here
Floating bookshelves have gained popularity as a unique and visually appealing way to display books and decorative items. These shelves create the illusion that your books are floating in mid-air, adding an element of intrigue to your home decor. Here’s how to install them:
- Materials Needed: Gather wall anchors, screws, a level, and the floating shelf brackets (available at most hardware stores).
- Installation Steps: a. Determine the desired height and spacing for your shelves. b. Locate the wall studs or use wall anchors for stability. c. Attach the brackets to the wall, ensuring they are level. d. Slide the shelves onto the brackets. e. Secure the shelves in place.
Floating bookshelves offer a creative and space-saving solution for book lovers, providing an engaging conversation piece while maximizing storage space.
Industrial Pipe Shelves
The industrial pipe shelving trend has captivated many interior design enthusiasts, bringing a rustic and industrial vibe to modern spaces. To create your industrial pipe shelves:
- Materials Needed: Purchase black iron pipes, floor flanges, pipe nipples, and wood boards in your desired size and finish.
- Installation Steps: a. Assemble the pipes and flanges to create the vertical supports. b. Attach the assembled supports to the wall, ensuring they are level and secure. c. Place the wood boards on top of the pipe supports.
These custom shelves add character to any room and offer a sturdy storage solution. However, it’s essential to choose the right pipe size and material for your specific needs and aesthetic preferences.
Cheap DIY Floating Shelves
Creating your own floating shelves can be a cost-effective way to customize your space. Here’s a step-by-step guide:
- Materials Needed: Gather plywood or MDF boards, L-brackets, screws, a drill, a saw, sandpaper, and paint or finish.
- Installation Steps: a. Measure and cut the boards to your desired size. b. Sand the edges and surfaces for a smooth finish. c. Paint or stain the shelves to match your decor. d. Attach L-brackets to the wall and shelves. e. Slide the shelves onto the brackets and secure them in place.
This budget-friendly DIY option allows you to tailor the shelves to your space and style preferences.
How to Build Shelves on a Wall
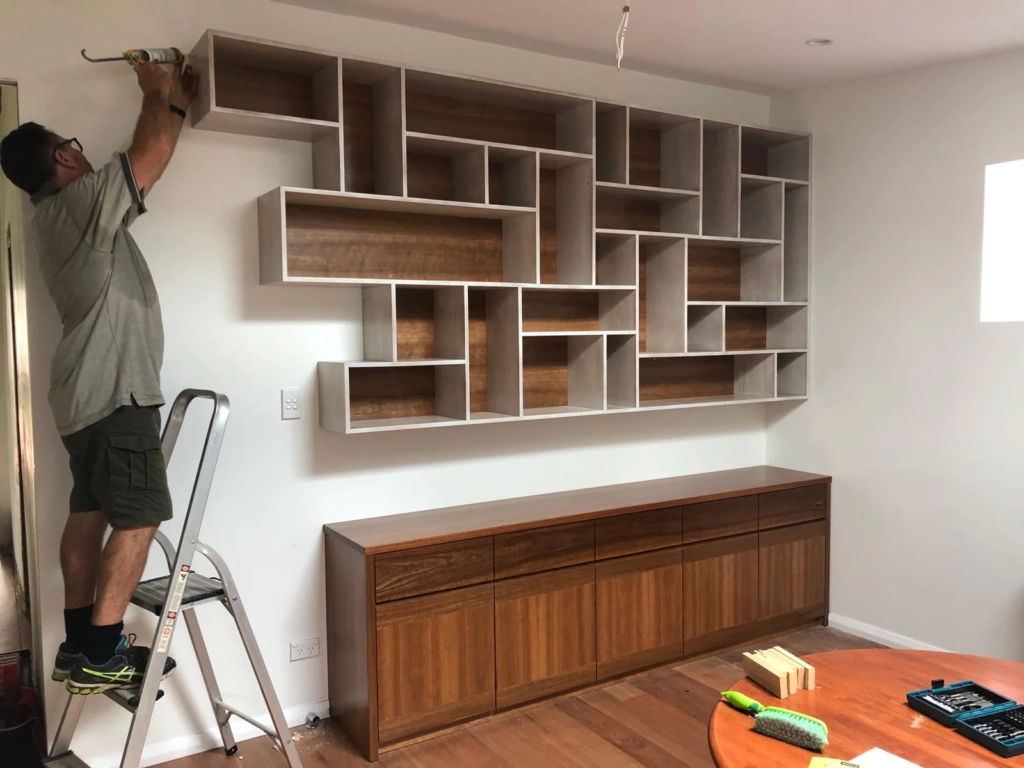
Creating wall-mounted shelves is another DIY project that can enhance your home decor. Here’s how:
- Materials Needed: You’ll need shelf brackets, screws, a drill, a level, wall anchors (if necessary), and the shelves themselves.
- Installation Steps: a. Determine the desired height and spacing for your shelves. b. Locate the wall studs or use wall anchors for support. c. Attach the brackets to the wall, ensuring they are level and securely anchored. d. Place the shelves on top of the brackets.
Wall-mounted shelves offer versatility, allowing you to adjust their placement as needed. Consider using them in areas like the living room, bedroom, or kitchen for added storage and display space.
Conclusion
In this comprehensive guide, we’ve explored the world of shelves, addressing common pain points and providing solutions. Shelves are not merely functional; they are an integral part of your home’s design. By understanding the different types, installation methods, and customization options, you can create the perfect shelving solutions to enhance your living space. Whether you opt for floating bookshelves, industrial pipe shelves, or DIY creations, your customized shelves will not only serve your practical needs but also reflect your unique style and personality. So, embark on your shelving journey and transform your living space into a functional and aesthetically pleasing haven.
Frequently Asked Questions
Few very important questions and answers which are very important for you
Q1: How to make custom shelves?
To make custom shelves, follow these steps:
- Measure the space where you want to install the shelves.
- Choose the type of material for your shelves, such as wood, metal, or glass.
- Determine the shelf design and dimensions to fit your needs and style.
- Gather the necessary tools and materials, including brackets, screws, a saw, and a level.
- Cut and shape the shelves according to your measurements.
- Install brackets or supports on the wall, ensuring they are level and securely anchored.
- Place the custom shelves on the supports and secure them in place.
- Finish the shelves with paint, stain, or a protective coating, if desired.
Q2: How do you make simple shelves?
Making simple shelves involves the following basic steps:
- Measure the space where you want to install the shelves.
- Select a suitable material, like plywood or MDF, for your shelves.
- Cut the material into the desired shelf dimensions.
- Attach shelf brackets or L-brackets to the wall at the desired height and spacing.
- Place the shelves onto the brackets and secure them in place.
- Ensure the shelves are level and well-supported.
Q3: Can you make your own shelves?
Yes, you can make your own shelves. There are various DIY options and methods available for creating custom shelves to suit your specific needs and design preferences. Depending on your skill level and available tools, you can choose from simple wall-mounted shelves to more intricate designs using materials like wood, metal, or even repurposed items.
Q4: What is DIY shelf?
A DIY shelf, short for “Do It Yourself” shelf, is a shelving unit or storage solution that you create on your own rather than purchasing a pre-made or professionally installed one. DIY shelves can be customized to fit your unique requirements, allowing you to choose the materials, design, and dimensions to match your space and style.
Q6: How to make shelves for kids?
Making shelves for kids involves considering their needs and safety. Here are steps to create kid-friendly shelves:
- Choose child-safe materials like non-toxic paint and rounded edges.
- Measure the height suitable for your child’s reach.
- Design shelves with easy access to toys or books.
- Decorate with fun colors or themes to appeal to children.
- Install the shelves securely, ensuring they can support the weight of items.
- Consider adjustable shelves that can grow with your child’s needs.
Keep in mind that safety should be a priority when making shelves for kids, so secure the shelves properly to prevent accidents.